
How to Capture Brilliant Photos in Low Light
Top Tips, Advice, and Settings to Capture the Best Photos in Low Light
Table of Contents
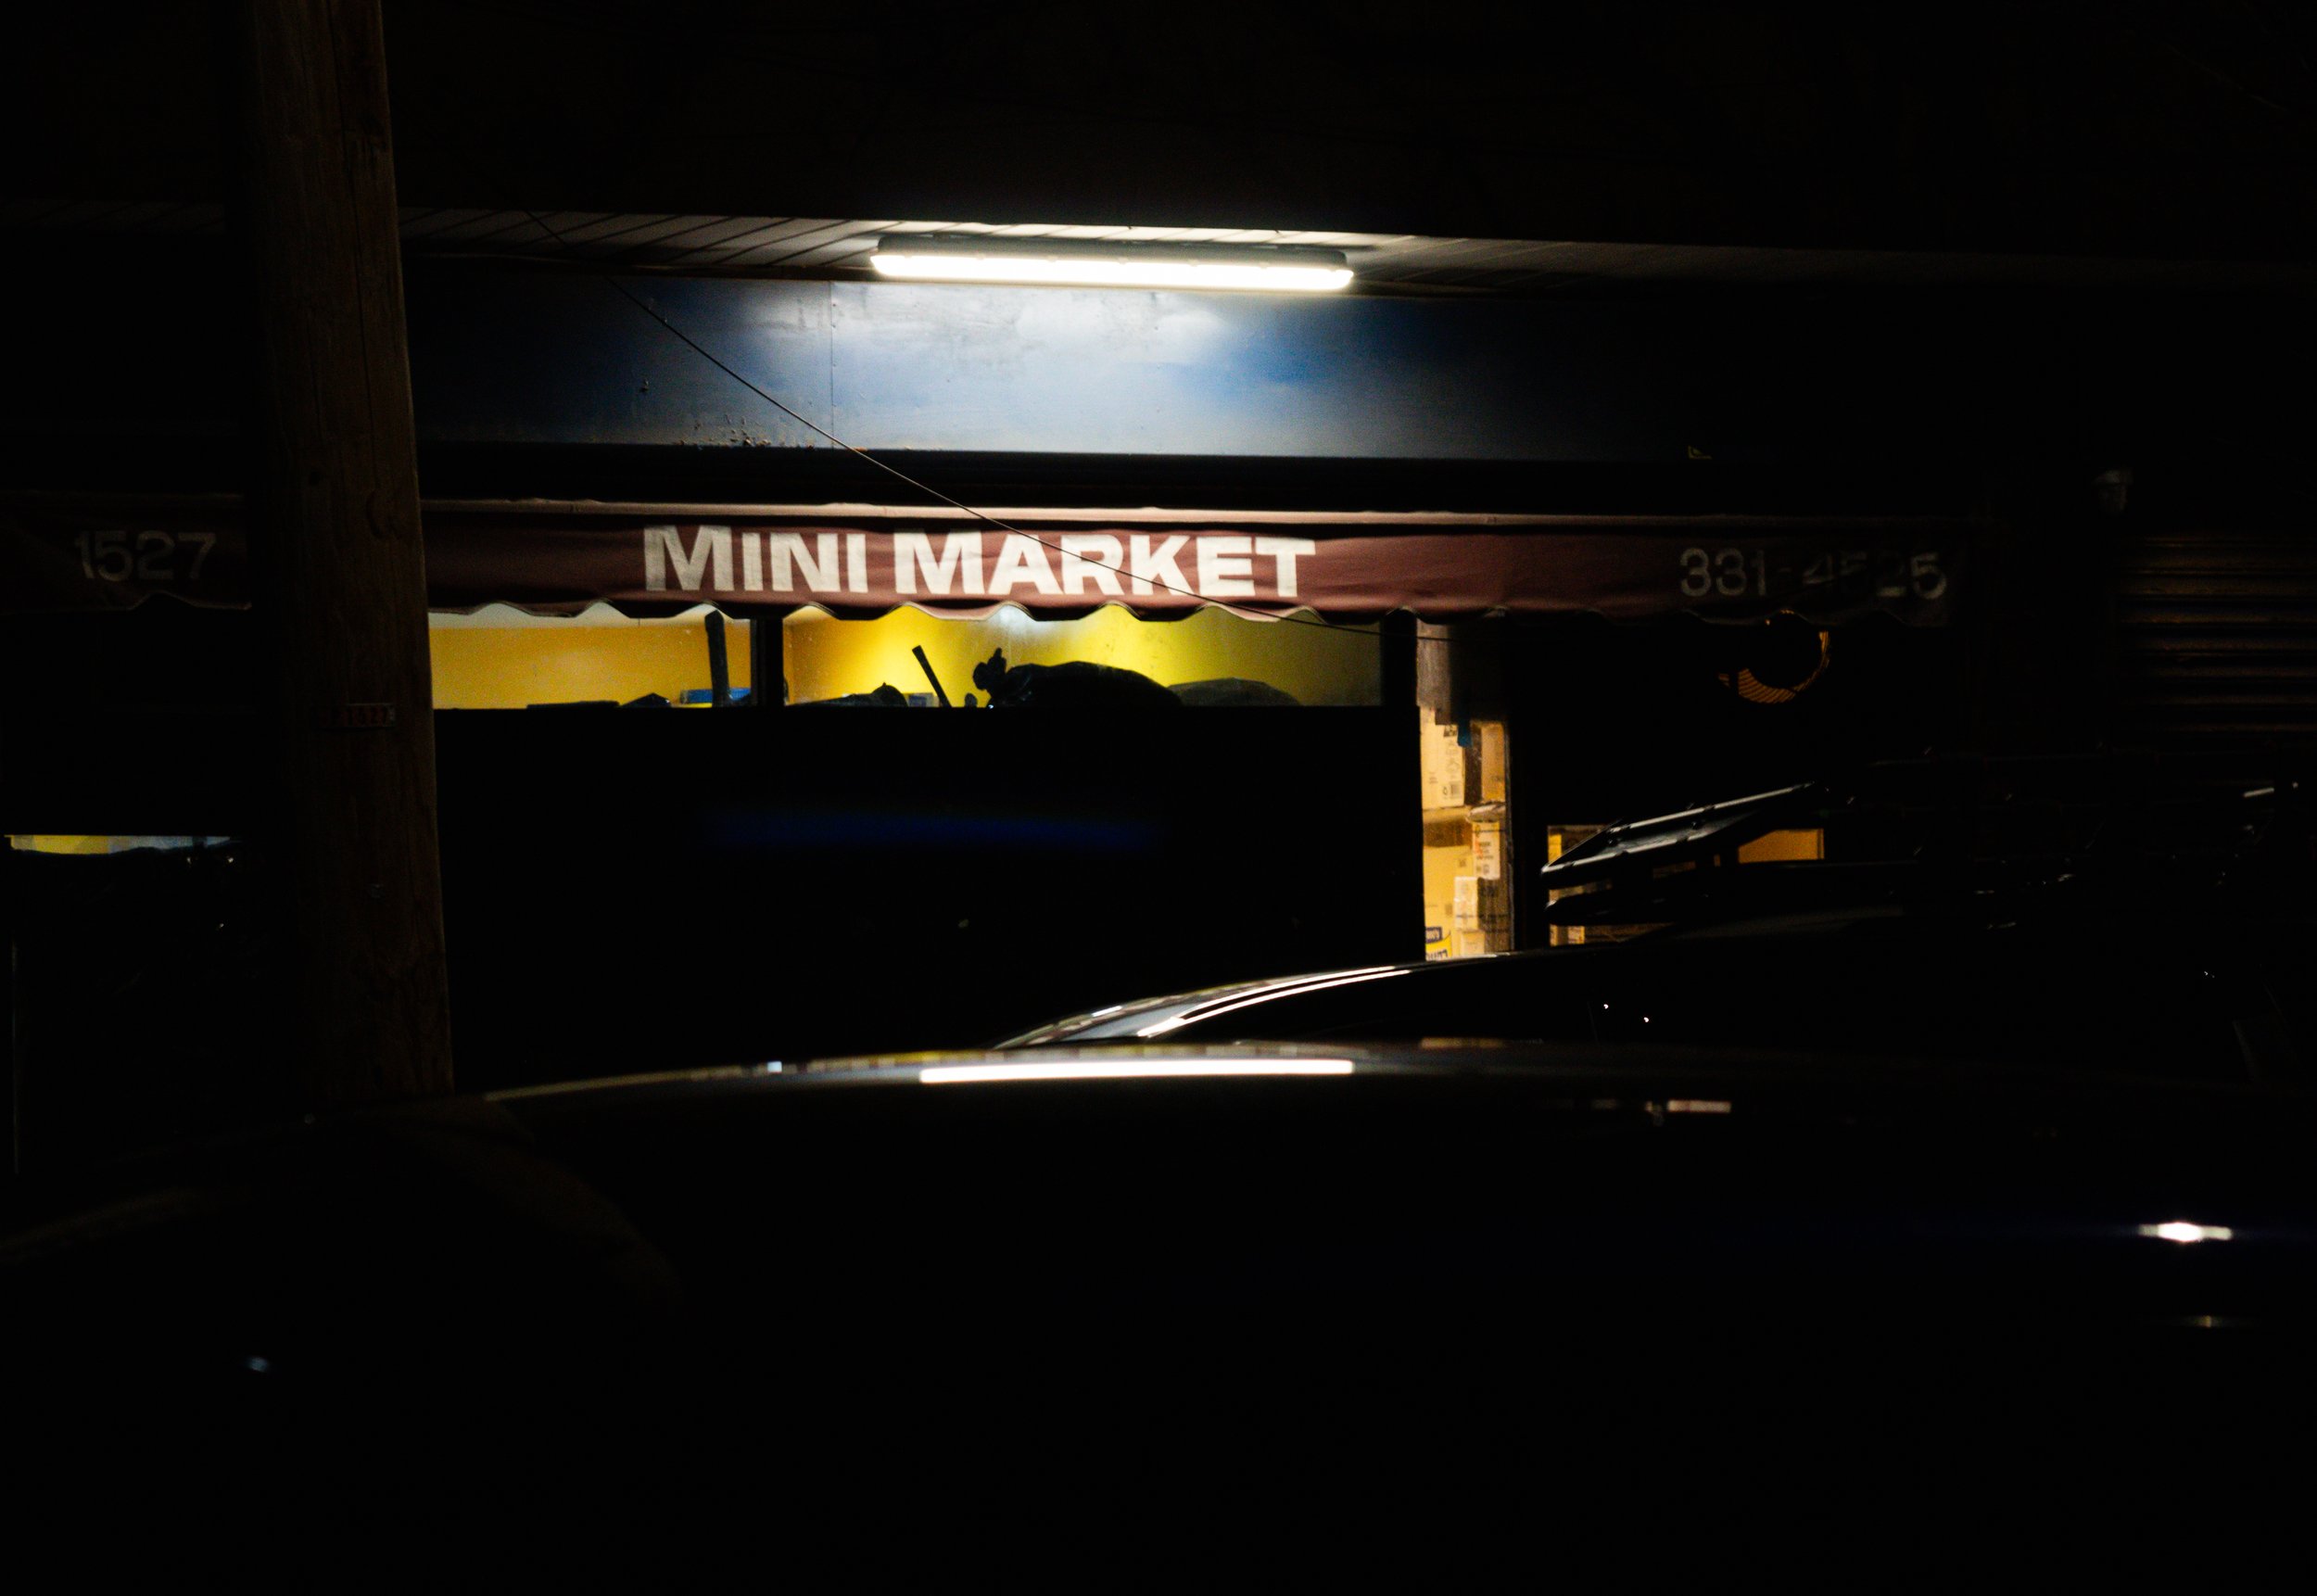
Local Market
Aperture f/4, Shutter 1/25, ISO 800
Why Photograph in Low Light?
Low light photography is one of the most interesting forms of photography out there. The ability to create engaging, introspective images with little light in your camera’s sensor is truly freeing.
Advantages
Low light photography has a couple of notable advantages, such as more interesting images and cost savings.
Interesting Images: Simply because many images are taken during the day, your late evening/night photos will surely spark conversation.
Cost Savings: Today, you can find lenses for under $100 that will take in enough light to deliver a powerful image.
Disadvantages
Low Light photography certainly has its disadvantages. The most obvious being more noise (grain). Additionally, poor camera performance, and blurry images.
Image Noise: Unless you are content with grain in your photos, you might want to avoid noisy images. They can look rather worn. Also, grainy photos tend to give the appearance of much less detail overall.
Camera Performance: Many cameras and lenses lack the technology required to capture good images in low light situations.
Blurry Images: Shooting moving subjects at night requires careful and deliberate actions. As such, it’s very likely your images will be blurry on a dimly lit evening or at night. That’s simply the nature of capturing images later in the day.
Pack the Right Gear

Arguably the most crucial step when it comes to low light photography. Doing a portrait shoot in low light? Be sure to bring a tripod and lighting equipment. Whatever the situation is, it’s important to pack the right lenses, your tripod, and extra batteries.
Lenses
Choosing the right lenses to take with you on your low light shoot is the best preparation. Because they’re are hundreds of lenses available for many different cameras, I won’t be able to touch on them in this blog post. However, here are a few key details you’ll need:
Wide Aperture Lenses
The first and most obvious choice of lens is a lens with a wide aperture. Kit lenses on modern cameras ship with a minimum aperture of f/3.5. While f/3.5 can let in a decent amount of light into your sensor, it may not be enough for photography in low light conditions.
Prime Lenses
Besides shooting with a wide aperture, try capturing your images on prime lenses. Prime lenses are faster, typically lighter, and can be found cheaper than many zoom lenses. My 50mm f/1.8 lens cost me $70 and it’s one of the best lenses I own!
Bring a Tripod
If you have one takeaway by the end of this post, remember to bring your tripod. Capturing images in low light conditions can be cumbersome. But capturing on foot is a whole different experience. Tripods and shooting on a timer will prevent blurriness, noise, and it’ll steady any shot you take.
Wear Proper Clothing
This applies to the photographers eager to capture images in the night. Wearing the right clothing makes all the difference on a photo walk.
Street photography is a thrilling endeavor. Who will you capture next? What are they doing, thinking, etc… That being said, street photography can also be very personal. During the day, you may be on the corner across the street, capturing that interesting subject. But at night, the same subject may be moving faster, and probably doesn’t want to be bothered.
Personally, I recommend leaving your home wearing darker clothing. You don’t need to dress like a criminal in all black and a face mask. Just wear something that won’t draw attention to yourself. A good rule of thumb in street photography, regardless of the time of day.
Weather
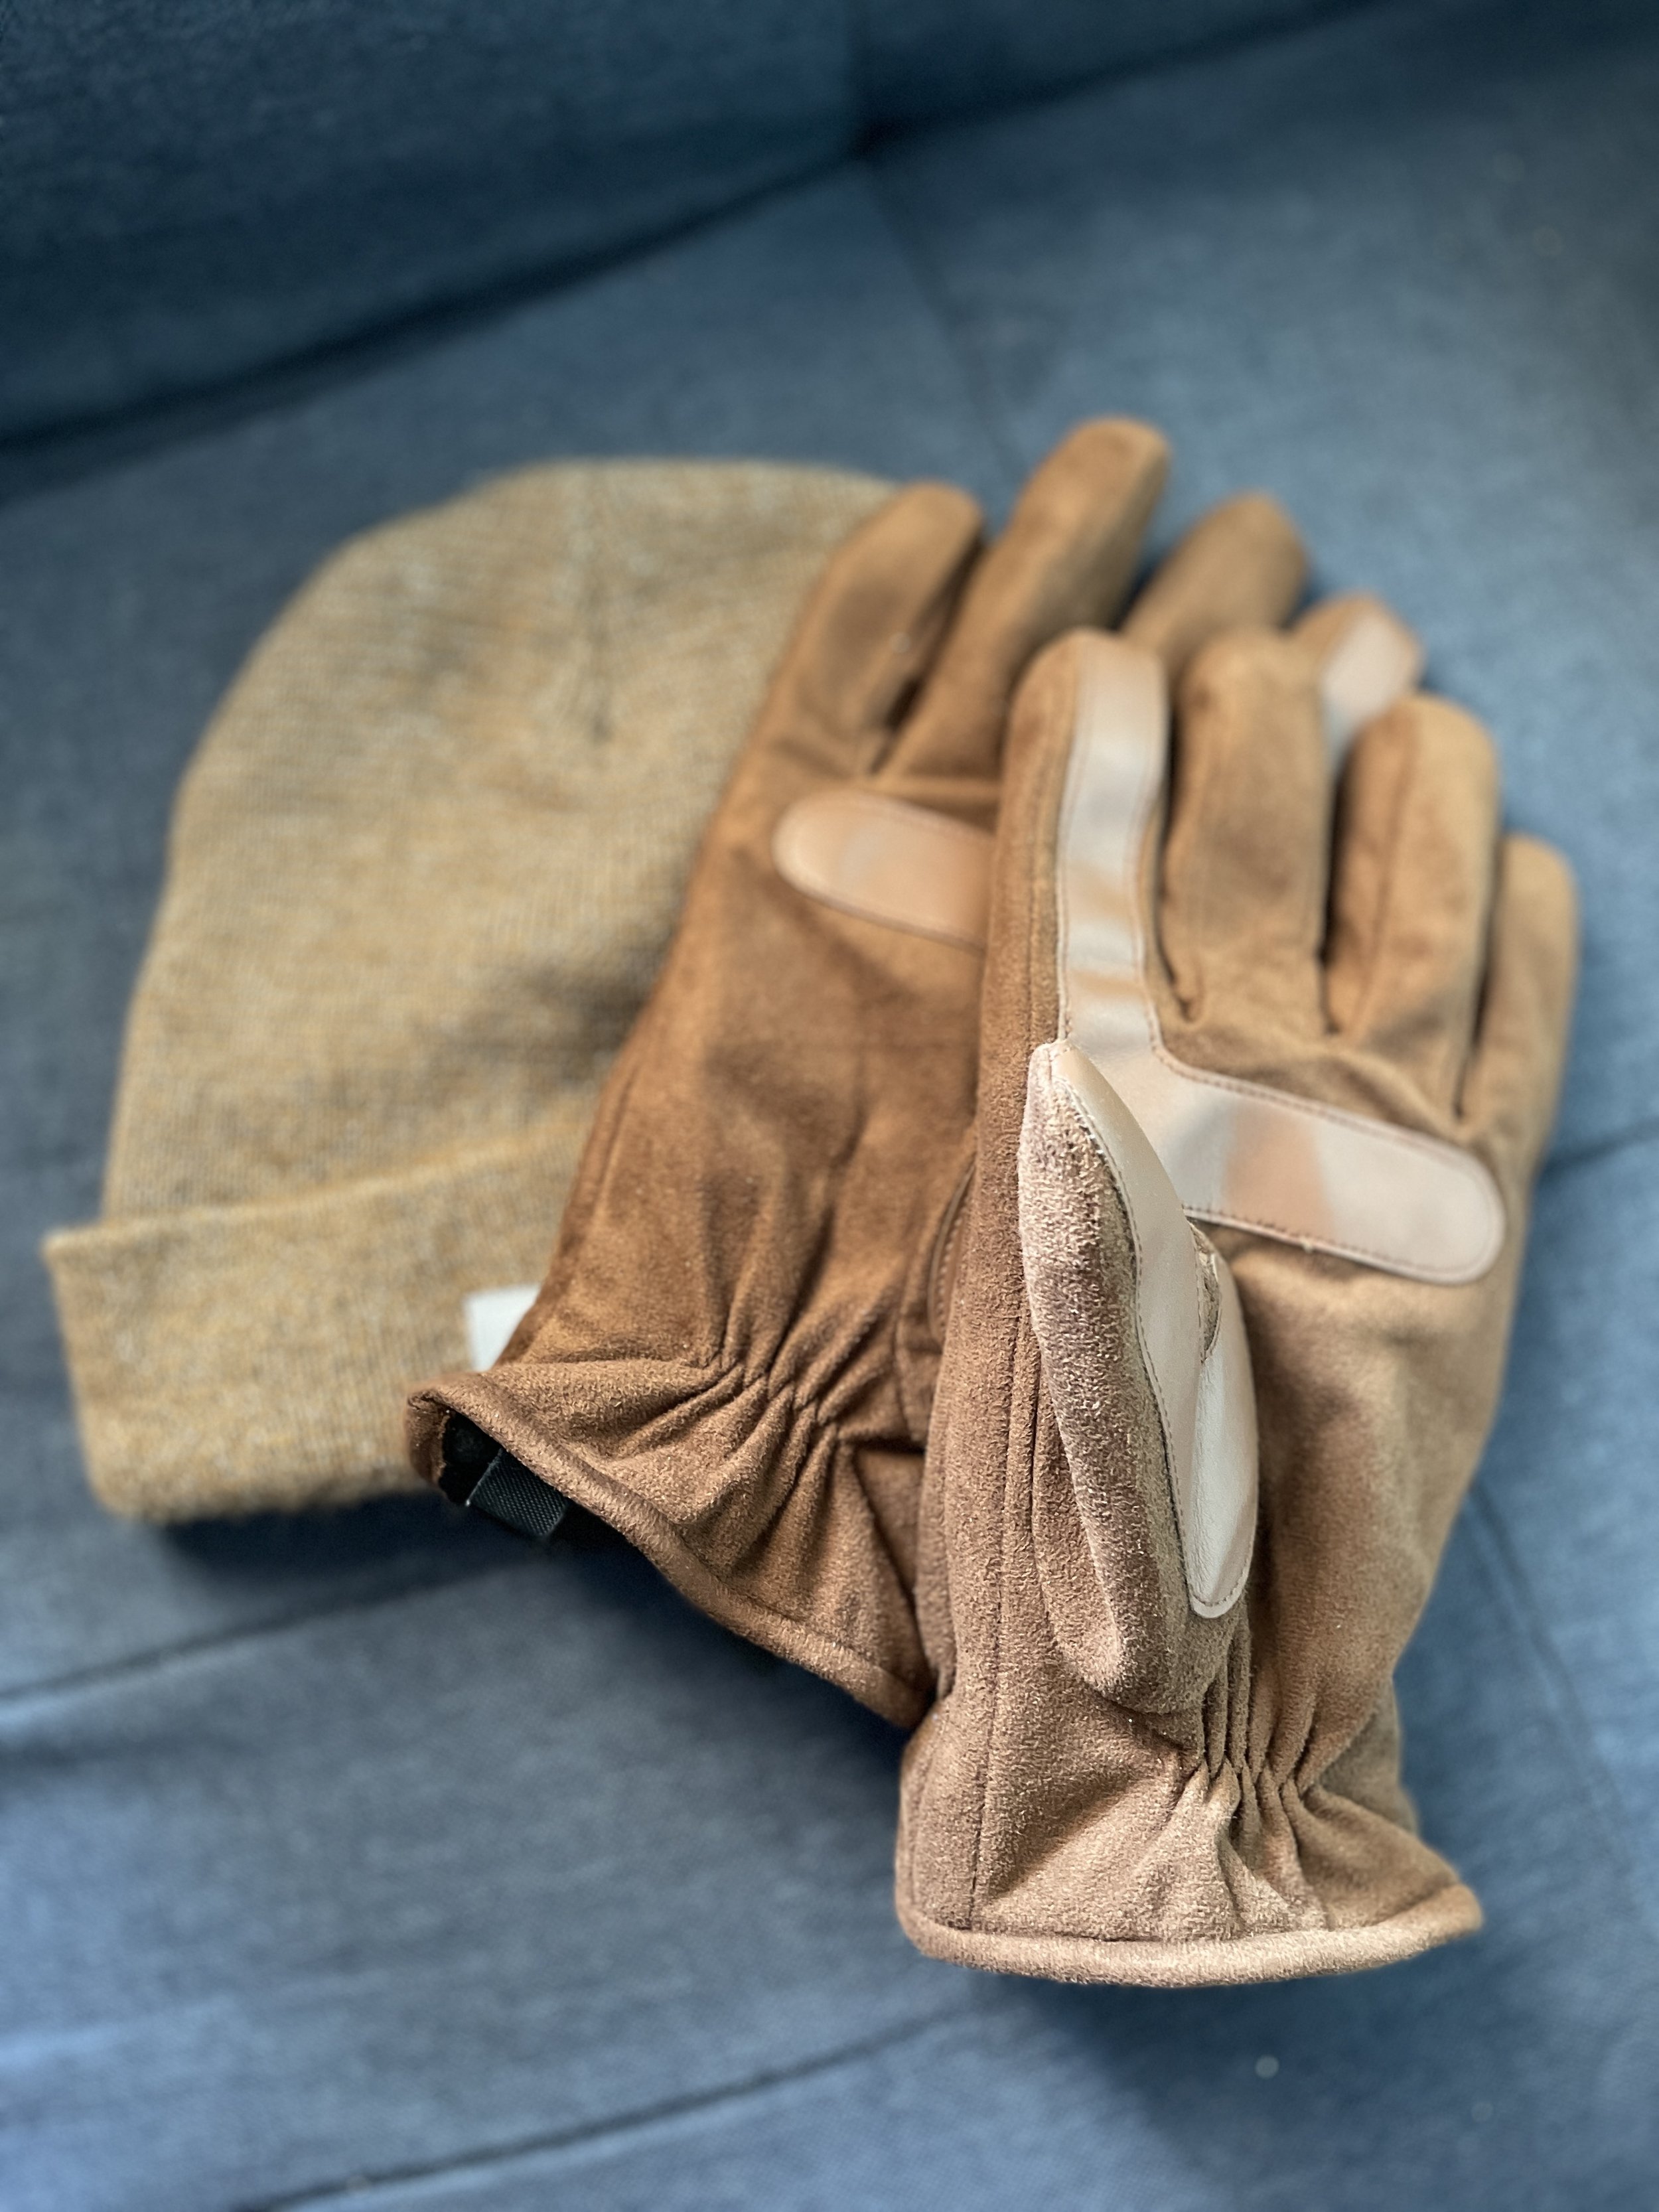
Grab a nice pair of warm gloves and a hat for your trip, if you need it.
There’s nothing worse than being out in the dark, alone, and freezing. If it’s a cold night, wear thermals under your clothes. Wear a warm, insulated coat and padded gloves. I recommend purchasing fingerless gloves for street photography at night. They’re the best for staying warm and also fiddling with camera settings.
Pack a poncho or an umbrella for rainy nights. Don’t miss a night of rainy street photos! You can capture amazing photos on rainy nights.
Dial in your Settings

Check your Settings
Ever been in the middle of taking a photo and realize your aperture is too narrow? I’ve been there too.
Now that you have prepared the proper clothing and lenses, you need to set up your camera. If you’re capturing images on a point and shoot camera or your smartphone, this won’t apply.
Manual Mode or Priority?
My personal advice is to set your camera on the capture mode you find most comfortable. Avoid photographers who say things like “low light photography should only be done in manual mode”. Photography is personal, period.
The best photographers experiment and enjoy their time capturing. They don’t spend valuable time on the back of their camera screen. Minutes wasted in your settings could have been used for taking photos!
White Balance
Your white balance setting is best left to automatic. Because your scene will constantly change every few minutes in low light, you will have to go in and change it again and again. Why bother? And if you are shooting in raw, the image can be edited later for color temperature.
Shoot in Raw
The best tip I could give for shooting in low light or at night is capture in raw. Raw format is completely unaltered, meaning your camera has not applied any edits to the image. Low light photography typically requires a bunch of editing, so make it easier on yourself beforehand.
Bring a Buddy
Photography later in the day can be intimidating, especially in a big city like New York. Once you’ve packed your gear and planned a route, consider asking a friend or family member to travel with you.
It’s good to have a support system while you’re out and about, and the added safety couldn’t hurt. If you’d rather shoot alone, then just notify someone in advance where you will be and when.
Bring a buddy with you to ease your mind if photographing in low light makes you anxious.
Conclusion

Stop!
Noticed this on my photo walk.
Photographing in low light is a rewarding experience. Capturing interesting images, from the beautiful sunset in your small town, to a train passenger in New York City, is fun and engaging.
Low light photography allows you to take images with a visually stunning mood and atmosphere. However, there are some downsides, including the possibility of noise or unwanted blur.
Here are the key points to remember:
Bring the right gear: Packing the right gear is vital for a great low light or nighttime photo session. Bring quality lenses and a tripod, if necessary.
Wear proper clothing: Clothing at night is everything. Wear clothing that will keep you warm, dry, and unobtrusive.
Dial in your settings: Remember to shoot with settings you're most comfortable using. Set white balance and metering modes to auto. Also, capture images in RAW.
Bring a Buddy: Take a friend or family member with you on your photo trip. It’ll give you peace of mind and keep you feeling safe.
Get out there and see what you can capture in low light! Your local city, town, or forest is waiting…
FAQ:
Which Aperture, Shutter Speed and ISO is best for low light?
You’ll need a low aperture to shoot in darker environments, preferably anything under f/2.8. This will allow for more light in your camera’s sensor. Shutter speed depends entirely on whether your subject is in motion. If so, raise your shutter speed. Otherwise, it should be left to your focal distance. ISO can be used for artistic effect if desired. Otherwise, only raise it if needed, because your image will most likely be noisy.
Why is Shooting in Low Light Problematic?
Shooting in low light is difficult because of changing lighting conditions, the possibility of blurry or noisy images, and weather conditions.
How to get Sharp Images in Low Light?
Sharp images are easy to capture with the right settings, proper lenses, a good eye, and experimentation.